Manifest
PRISMATIK’s unified production equipment register — every piece of gear in a show, exactly once, with capabilities (not department labels) determining how it shows up across the app.
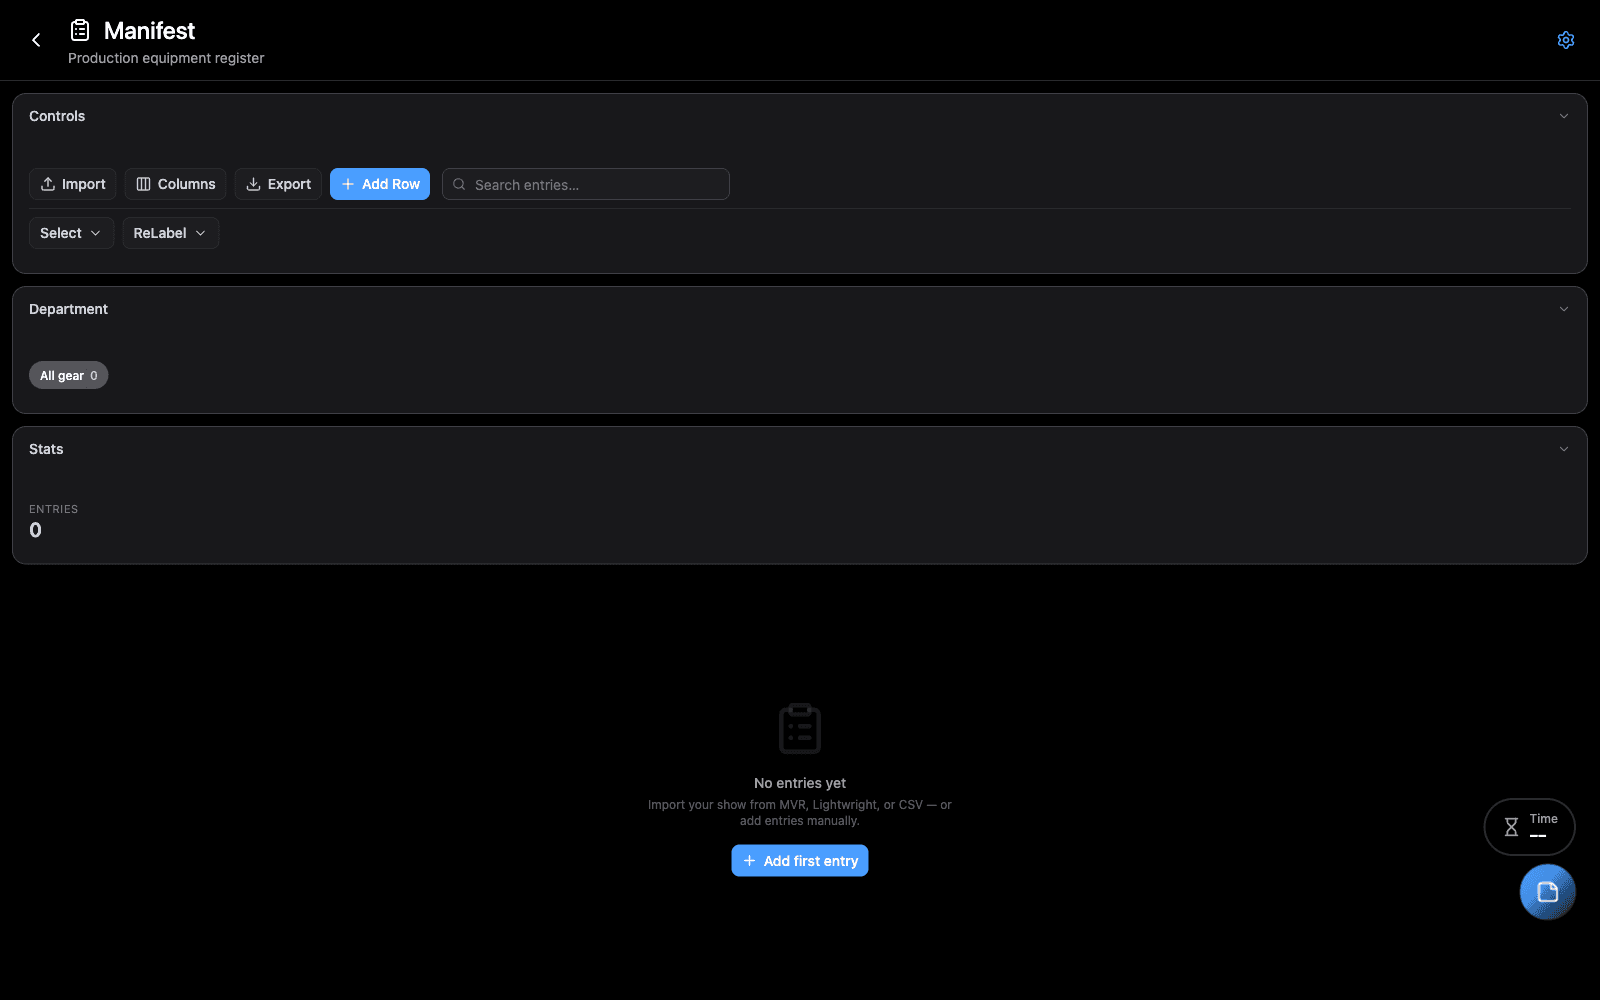
Overview
The traditional separation of production equipment into lighting / video / audio / rigging departments reflects how production companies are organized, not how modern gear actually works. A Robe fixture with a pixel-mappable display is simultaneously a DMX fixture and a video surface. An LED tile is a lighting unit that accepts content. A Zonda PXL has DMX channels and a pixel grid.
Manifest treats department as a logistics annotation, not a type constraint. A device declares its capabilities (DMX, network, pixel-map, power, signal, physical, audio), and PRISMATIK uses those to decide where it shows up — in the patch, the pixel mapper, the Flow Tool topology, the control surface, the paperwork.
Every show has one Manifest. Every device lives in it once. Other tools (Flow Tool, Pixel Map Generator, Reports) read from it.
When to Use
Open Manifest when you need to:
- Build your production’s equipment register from a fresh show
- Import gear from MVR, Lightwright XML, or a CSV template
- Patch a fixture’s DMX address, network IP, pixel-map slot, or power circuit
- Tag equipment for filtering (“FOH only”, “DS Truss 1”, “Rack 3 Bay 2”)
- Generate paperwork for the production binder
- Verify console personality matches the device’s profile (DMX channel layout sanity-check)
- Link gear to other tools — a fixture in Manifest can be referenced by Flow Tool, Pixel Map Generator, and Setlist Manager without duplicating data
If you’re authoring a signal-flow diagram (not equipment data), use Flow Tool instead. Flow Tool draws connections between devices that already exist in Manifest.
Step-by-Step
Adding equipment
- Open Manifest from the home screen.
- Click + Add Entry (top-right of the Register grid).
- Either:
- Pick from Asset Library — your saved catalogue of gear you’ve configured before.
- Import — drop in an MVR, Lightwright XML, or CSV file (see Import Wizard below).
- Add inline — type the manufacturer + model and fill out the capability blocks manually.
- Set quantity, position (
DS Truss 1,FOH, etc.), department (logistics only), and any notes. - Save. The entry now appears in any other tool that consumes that capability.
Importing from MVR / Lightwright / CSV
- Click Import in the Manifest toolbar.
- Choose source format. The import wizard walks you through:
- File picker
- Column mapping (for CSV — guess defaults to sensible mappings)
- Conflict resolution (devices already in Manifest with matching IDs are flagged; you choose merge / skip / overwrite per row)
- Preview the resulting Manifest entries before committing
- Confirm — entries appear in the register with
source: importedmetadata.
Patching DMX
- Find or create the entry in Manifest.
- Open its DMX capability block.
- Set: universe, start address, channel count (auto-populated from the asset definition’s DMX footprint).
- PRISMATIK warns on overlaps. The DMX Universes manager surfaces conflicts across all entries.
Common Workflows
Building a show from scratch with the Crescit library
If you have Crescit / Q2Q integration enabled (v1.0.9+), Manifest can search the live 50K+ fixture library:
- Click Add Entry → search “Robe BMFL Spot”
- Pick the matching profile — capability data (DMX footprint, weight, power draw, beam angle, GDTF) flows in automatically
- Set quantity + position
- Done. The DMX patch, power calculator, and weight totals all update.
Working offline
Manifest works offline. If a Crescit asset reference can’t be resolved, PRISMATIK falls back to the locally-cached definition (or shows a placeholder with the manufacturer + model so you can still patch DMX, then resolve the full profile later when online).
Generating paperwork
Manifest is the source of truth for these reports:
- DMX patch sheet, from Reports & Documentation
- Power per-circuit breakdown (Power & Generator Calculator)
- Network IP list, from Reports & Documentation
- Full equipment list (Manifest Reports)
- Cable runs (Cable Wrangler)
Tips & Shortcuts
- Filter chips at the top of the register — toggle by department, capability type, or tag. Filters are non-destructive (they hide rows, don’t delete).
- Bulk operations — select multiple rows (shift+click), then bulk-edit position / department / tags from the action bar.
- Duplicate — pick an entry and click duplicate (or
Cmd+D) to clone with incremented quantity or position. - Asset Library — gear you use repeatedly should live in your asset library, not be re-entered per show. Add Entry → “Save to library” creates a reusable definition.
Troubleshooting
“This device isn’t showing in Pixel Map Generator.”
- Pixel Map Generator only sees entries with a
pixelMapcapability block. Open the entry in Manifest, ensure pixelMap is configured (panel size, pixel pitch, layout), and re-open Pixel Map Generator.
“DMX patch shows overlap warning.”
- Two entries share addresses. Click the warning → see which entries overlap → re-patch one of them. Use DMX Universes manager for a holistic view.
“Imported CSV has wrong columns mapped.”
- The wizard previews before committing. If columns look wrong, go back and remap. Common gotcha: Lightwright exports vary by version — pick the closest matching format.
“Crescit lookup returns nothing.”
- Confirm you’re online and your Crescit key is valid (Show Settings → Integrations). Most missing-fixture cases are typos in manufacturer name — try a fuzzier search.
Related Tools
- Manifest Import Wizard — the MVR/XML/CSV import flow in detail.
- Manifest Reports — paperwork generators driven by Manifest data.
- Flow Tool — signal flow between Manifest entries.
- Pixel Map Generator — consumes entries with pixel-map capabilities.
- RDM Browser — discover devices on the wire; future versions will auto-bind discovered devices to Manifest entries.
Source
Component: Manifest
Spec: docs/MANIFEST.md